Laser Cut Text Signs: A Beginner's Guide

Laser cut text signs are a great way to add a personalized touch to your home, office, or event space. With just a few simple steps, you can design your own unique sign and have it professionally laser cut. In this guide, we'll walk you through the process of creating a custom text sign using free software and Fabworks' Laser Cutting Service.
Getting Started with Inkscape
The first step in creating your custom sign is designing the text layout. We'll use Inkscape, a free vector graphics editor, for this part of the process.
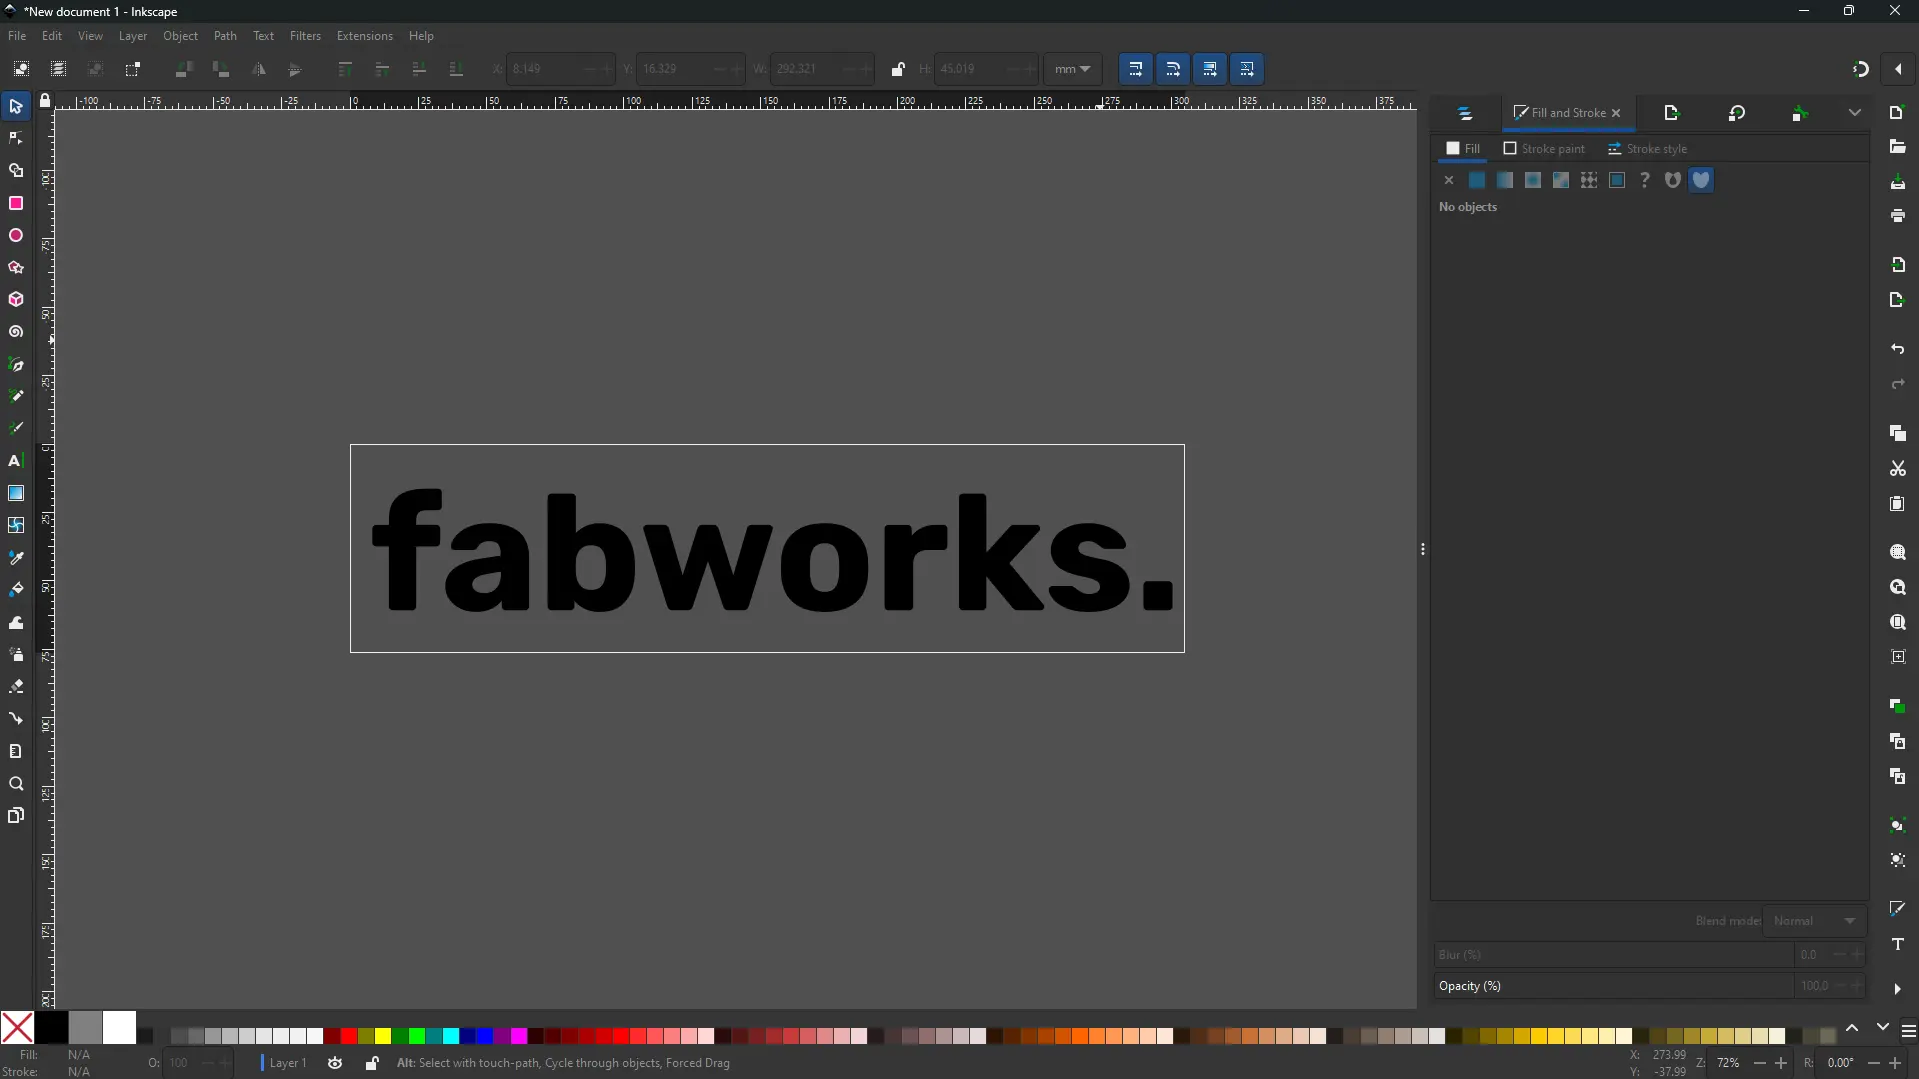
Open Inkscape and create a new document. Set your document size to match your desired sign dimensions. This ensures your design will fit perfectly when it's time to cut. Now comes the fun part - adding your text! Select the Text Tool(Default keybind is "S"), choose a font that suits your style and type out your message. Play around with different sizes and arrangements until you're happy with the look.
Preparing Your Design for Laser Cutting
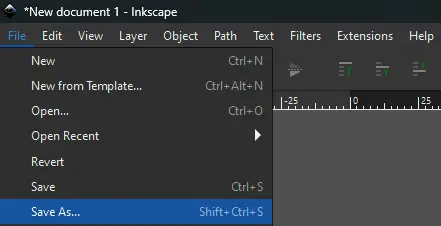
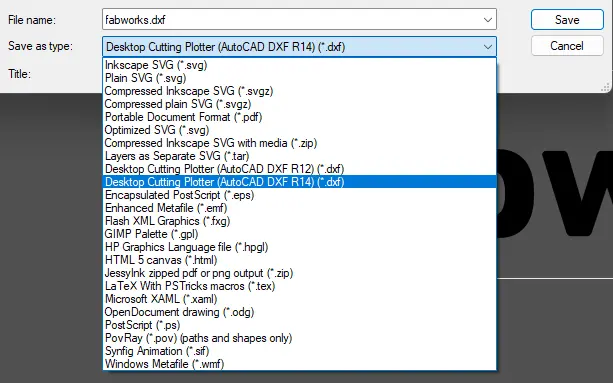
Once you're satisfied with your text design, it's time to prepare it for the laser cutting process. Export your Inkscape design as a DXF file, so we can import it into Onshape.
Giving it depth
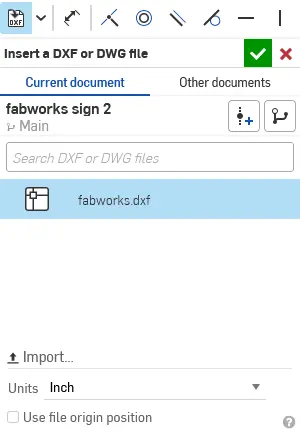
Next, we'll use Onshape, a free cloud-based CAD platform, to turn your 2D design into a 3D model. Make a new document, and Import your DXF file into a new sketch.
In Onshape, draw the outline of your sign around your text, we recommend making a new sketch for your sign outline to keep the original text protected from modification. This will define the shape of your finished sign. Feel free to add extra features like mounting holes, or places to put hooks to hang your sign during this step.
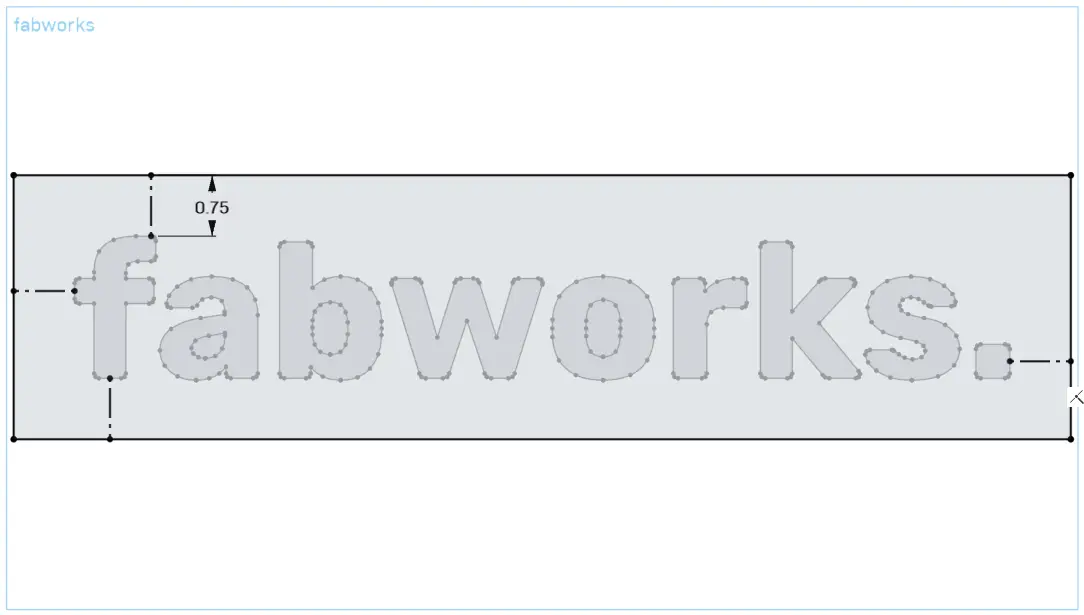
Extrude the sign outline to give it thickness. The thickness you choose will depend on the material you plan to use and your personal preference.
Now it's time to cut the text into your sign. Use the extrude tool again, but this time select the 'remove' option to cut the text out of your sign base.

One important step that's often overlooked is fixing any 'islands' in your text. These are the inner parts of letters like 'O' or 'A' that would fall out if cut. Add small connectors to keep these pieces in place, we recommend at least 2x the minimum feature size for your material and thickness. For more detailed information on your material's minimum feature size review our Material Guidelines


Bringing Your Design to Life with Fabworks
With your 3D model complete, you're ready to turn your design into reality.
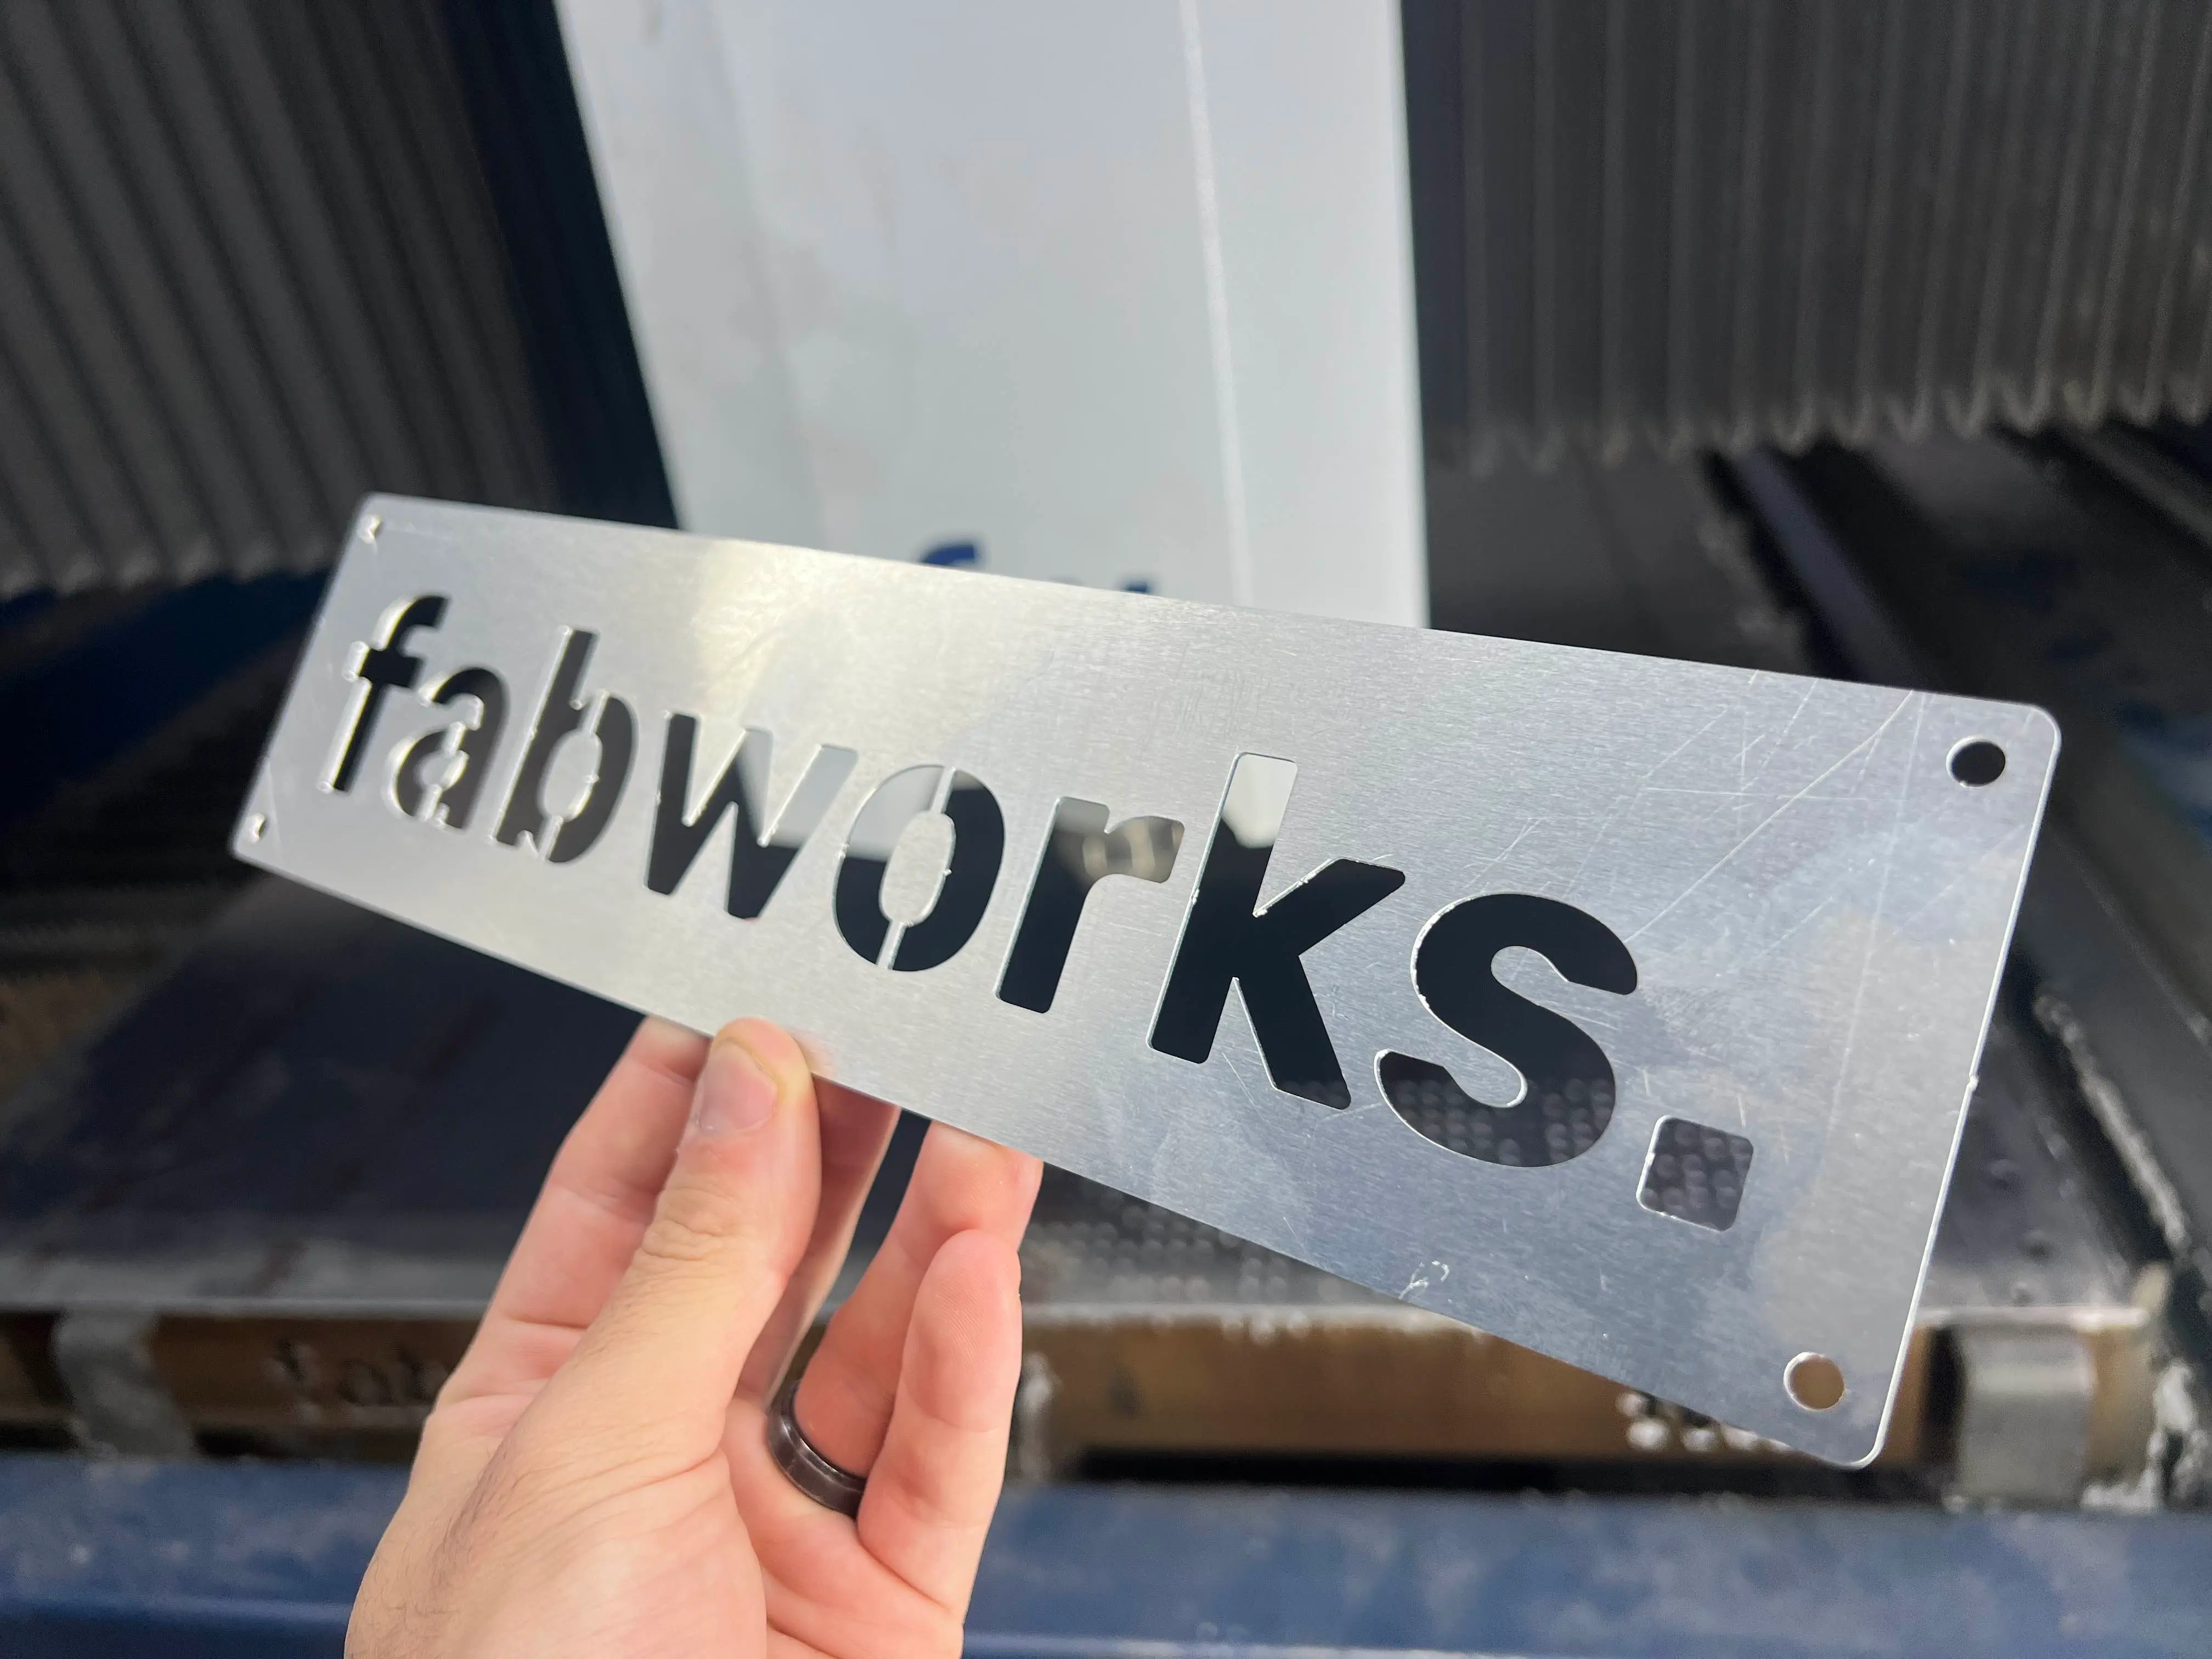
Export your Onshape model as a STEP file. This preserves all the 3D information needed for accurate laser cutting. We have a guide on exporting parts as STEP from Onshape if you need additional help. After thats done head over to the Fabworks Laser Cutting Service and upload your STEP file. Choose your preferred material and thickness, and we'll take care of the rest!
Creating a custom laser cut text sign is a rewarding project that allows you to express your creativity and add a personal touch to your space. With these simple steps and Fabworks' professional laser cutting service, you can bring your unique designs to life with ease. Whether you're making a name plate for your desk, a welcome sign for your home, or a custom piece of wall art, the possibilities are endless.
Using Fabworks for Next Day Laser Cutting
Accelerate prototyping with Fabworks' next day laser cutting. Learn how to speed up turnaround times and optimize your rapid product development process.
Enhance your parts using Captive Nuts!
Master the art of assembling laser-cut sheet metal parts with captive nuts - a cost-effective, tool-free method ideal for hobbyists and prototypers.
Order Sheet Metal Parts .
Upload your STEP file for an instant laser cutting quote. Quote in seconds, order in minutes, receive parts in days.
or drag and drop
.STEP / .STP up to 25MB
Your file are safe, secure and retain all intellectual rights.